Showing posts with label telescopes. Show all posts

Sunday, March 20, 2022

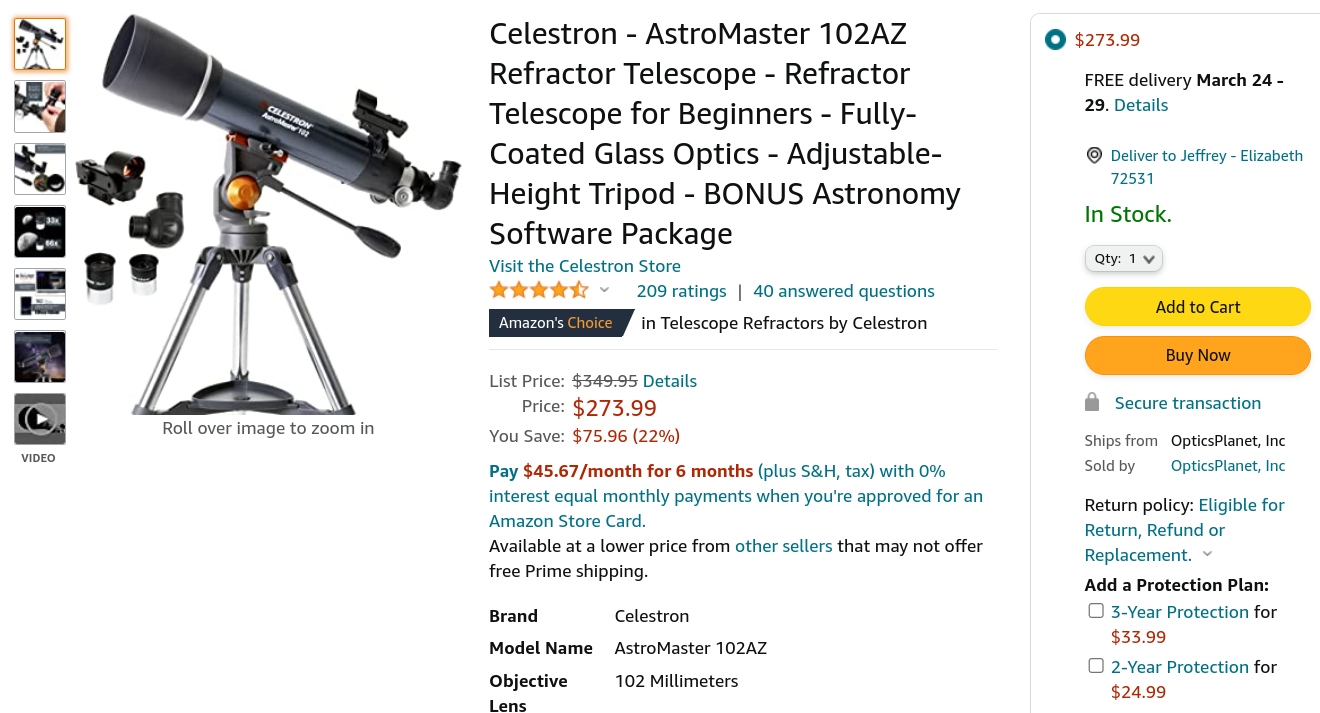
A Tale of Two Telescopes -- AWB OneSky 130 and Celestron AstroMaster 102AZ


Here is the quick summary: Both of these telescopes are made by Celestron; both are made in China; both give almost identical views of the night sky. The AWB OneSky costs $250, and a big chunk of that goes to support the outreach activities of Astronomers Without Borders. The Celestron AstroMaster 102AZ costs $275. (The scope I actually have is the NexStar SLT 102, but I modified it to remove all the computerization so it is similar to the Astromaster 102AZ.) The AWB OneSky is slightly better overall for astronomy; the Astromaster is excellent for both astronomical and terrestrial viewing.

For the time being, I own both scopes and I think I'll hold onto them both. I slightly prefer the OneSky for astronomy and greatly prefer the AstroMaster for bird watching or scanning the distant lake activity.
Both scopes are so good that I rarely break out my 8" Dob even though I know I'll get a far better view of planets and deep sky objects using it. Often, ease of use wins the night!

The Nitty, Gritty Details

Both scopes have the same 650 - 660mm focal length. One might at first think that a 130mm objective mirror would out-perform a 102mm refractor lens, but the large secondary mirror on the OneSky means that both scopes collect about the same amount of light. Both seem equally sharp. I really see no significance difference between performance either at low power (26x magnification) or at high power (110x magnification). When using the same lenses in each scope, I get about the same viewing.

The red-dot finder is mounted toward the front of the AWB OneSky while it is mounted toward the back of the AstroMaster. This makes a considerable difference. With the OneSky it is always relatively easy to tip one's head in a good position for looking through the finder without having to get out of the viewing chair. With the AstroMaster you have to choose between comfort viewing objects low on the horizon or comfort with objects up toward the zenith. You can, of course, adjust the length of the tripod legs, but that's an extra step and hardship in dark sky viewing. I think the AWB Onesky has the edge in ergonomics.

That edge is given back (and more) if one wishes to use the scope for terrestrial viewing. You can do it with the OneSky, but it's never going to be a viable option for bird-watching. The AstroMaster soars ahead as a terrestrial scope. You can even look at insects on wildflowers 30 feet from you door!

Extras

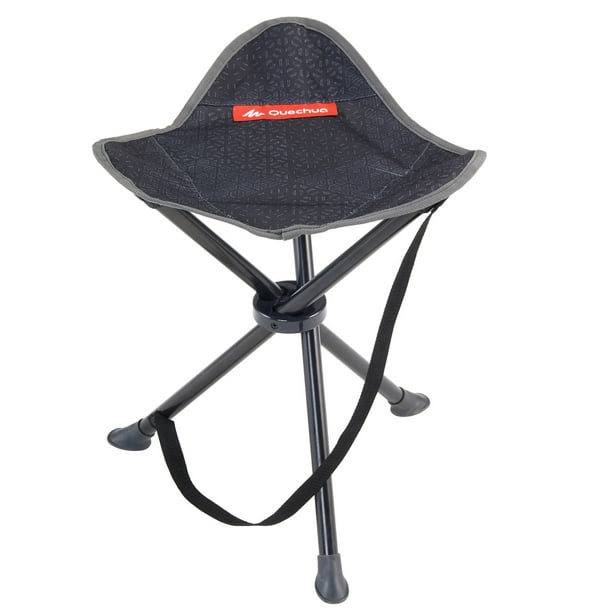
You'll need an observing chair or stool for comfort when using either scope. I've purchased a three-legged stool like this one:

If you buy the Astromaster, a light observing chair is the only additional expense. If you buy the AWB OneSky, you will also need a small table upon which to set the telescope. You can make one for free by cutting down the shipping box as I have done in the images below. Note that I have strategically reinforced the inside of the box with additional cardboard, I have created four mini-legs to raise the box off the ground by about an inch, and I have used plenty of packing tape and Gorilla tape whenever the mood struck me! The box now serves to hold the scope as I carry it around the yard and is also sturdy enough in use to damp eyepiece vibrations quickly. If I want the box to last longer, I'll probably cover it with water-resistant wallpaper. 


Thursday, December 16, 2021

DIY Telescope Finder Scope -- Better Than a Telrad?


All astronomers face one big problem: How do we find anything in that enormous night sky? It can be hard to find the full moon when just panning around at 25x magnification! Finder scopes are the answer, and I would say that the Rolls Royce of finders is the combination of a well-collimated laser along with a well-colliminated 10x50 right-angle monocular. But 10x50 finders are heavy and expensive. Lasers rely on battery power and present risks of causing eye damage to others if used inattentively.

Red-dot finders are a less expensive alternative, while Telrads cost a little more but are easier to use. Both rely on batteries. Both produce unmagnified direct views of the sky. The problem with the red-dot finder is that it is easy to knock out of alignment and it is sometimes surprisingly hard to actually see the red dot. Sometimes I have to crane my head around uncomfortably for quite some time at a very awkward angle. The Telrad pretty much solves those problems.

But I think the DIY finder pictured above is even better. It weighs almost nothing, it costs next-to-nothing, and it is surprisingly easy to make. It's easy to align. You never have any problem pointing at the right patch of sky. And you never need batteries -- though a red flashlight can be handy and make it work exactly like a Telrad. Here are some pictures of the finder mounted on a short-tube 102mm refractor:


You can see, by the way, that I've got this scope "souped-up" with a DIY 10x50 finder that I made from a pair of cheap binoculars, some old mailing tubes, and plumbing parts. I'll probably leave the 10x50 on the scope as a convenient way to scan the sky at low power; but I don't need it at all as a finder scope!

I may make a YouTube video about constructing this foam&wire finder, but until I do so, here are some instructions that probably tell you all you need to know:

Instructions

  1. Cut out and sand the edges of a 2" diameter cylinder of 1" closed-cell foam: One each for front and back sights. (Closed-cell foam is sold in sheets at most lumberyards. It is often pink or blue and sands much better than the white open-cell foam.)
  2. Sand the bottom of each foam cylinder to the radius of the telescope tube. Wrap a sheet of 60-grit sandpaper around a cup, pitcher, or plastic container of the proper diameter.
  3. Cut three 7" lengths of copper wire (18 gauge). Grab with vice-grips 1" from one end and right at the other end. Twist the three strands together. Do the same thing with 3 strands 6" long.
  4. Bend the stranded wire over a 1" broomstick so that the inch of the untwisted end is free. Twist tightly around the broomstick to form the eyesight. Bend and twist the 6" strand around a 3/4" screwdriver handle or something similar.
  5. Slightly spread the untwisted strands on the end of one eyesight. Then (while pushing the ends together slightly) shove them into the center of one of the foam pieces. The wire should spread as you push it in, thus holding the eyesight firmly in the foam. Repeat with the other eyesight.
  6. Spread 1/8 teaspoon of baking soda onto the top of the foam and push it into any gaps where the wire enters the foam. Scrape off all the baking soda that cannot be pressed into the holes.
  7. Put a couple of dabs of gel superglue onto the wire and baking soda where it enters the foam and spread it thoroughly and forcefully into any gaps.
  8. Paint the foam with black enamel (or any other preferred color).
  9. Put a piece of carpet tape onto the bottom of each eyesight. Stick the front eyesight onto the tube where wished. Focus the telescope on a distant object and attach the rear eyesight where it lines up. Collimate by bending the wire loops as necessary.
  10. Now, enjoy the best finder scope that money can't buy!